
For safe driving, especially at night or in bad weather, headlights are essential. They may eventually become hazy and yellowed, making it harder to see. The Cerakote Headlight Restoration Kit will help if your headlights are dull. Your headlights can be brought back to their original clarity with this simple-to-use kit. Let’s take a step-by-step look at how to use cerakote headlight restoration kit.

What is the Cerakote Headlight Restoration Kit?
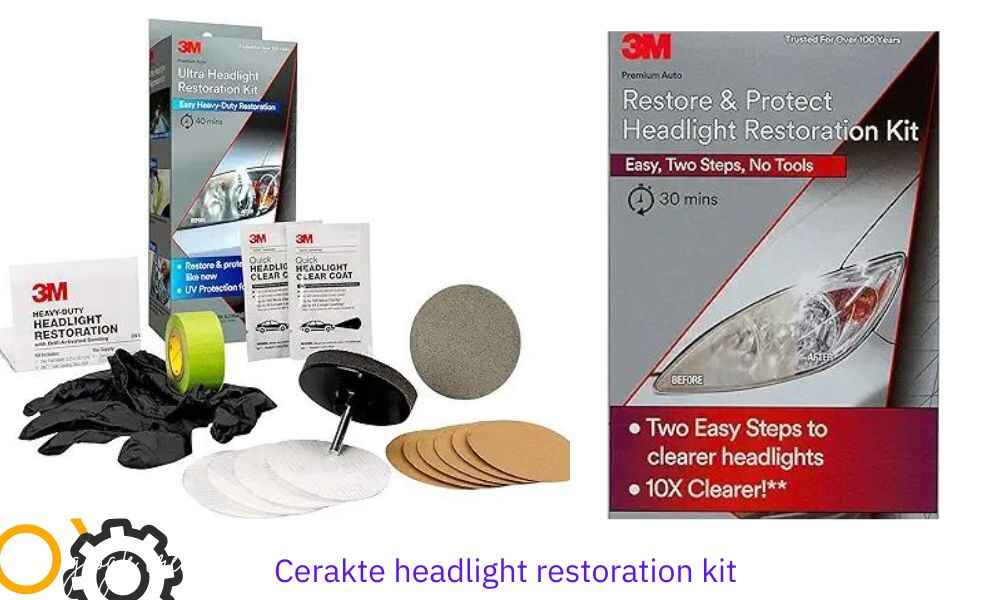
A comprehensive option for recovering headlights is the Cerakote Headlight Restoration Kit. Its purpose is to clean your headlights of oxidation, scratches, and yellowing. All you need to restore the original appearance of your headlights is included in this kit. It’s inexpensive, practical, and easy to use. In addition, it can be less expensive than hiring an expert.
Why Restore Your Headlights?
It goes beyond aesthetics when you restore your headlights. Safety and visibility are increased with clear headlights. Up to 70% less light can be produced by headlights that are cloudy. This can be risky, particularly after dark. You can make sure you can see and be noticed on the road by having your headlights restored. It’s a quick and simple method to enhance the safety and appearance of your car.
Benefits of Using the Cerakote Headlight Restoration Kit
- Simple to Use: No specialized equipment or knowledge needed.
- Cost-Effective: Less expensive than hiring a pro to restore.
- Elongated Benefits: Prevents further oxidation.
- Improves Safety: Drier driving is made safer by improved visibility.
- Improves Appearance: Gives your car a more modern, well-kept appearance.
Step-by-Step Guide how to Use Cerakote Headlight Restoration Kit
1. Gather Your Supplies
Make sure you have everything you need before you begin. The Cerakote Headlight Restoration Kit includes:
- Oxidation remover pads
- Surface prep pads
- Ceramic coating wipes
- Gloves
- Microfiber towel
2. Prepare Your Headlights
Make sure your headlights are clean first. To get rid of any filth and grime, use water and mild soap. Using a fresh towel, completely dry them off. Ensure that your headlights are not exposed to direct sunlight and are cool to the touch.
3. Apply the Oxidation Remover
Don the gloves that are included in the package. Apply a pad made for removing oxidation to the headlight. Make circular, forceful movements. On the pad, you will observe the oxidation peeling off. This procedure clears your headlights of the foggy, yellow layer.
4. Rinse and Dry
Rinse the headlights with water once the oxidation has been eliminated. Use the microfiber towel to completely dry them. Verify if the headlights are free of any residue.
5. Use the Surface Prep Pads
Use the surface prep pads after that. These pads get the ceramic coating ready to be applied to the headlamp surface. Move the pad in a circular motion over the headlamp. This process helps to smooth the surface and remove any leftover oxidation.
6. Apply the Ceramic Coating
It’s time to put the ceramic coating on now. Gently wipe the headlamp with one of the ceramic coating wipes. Evenly cover the whole area. Future oxidation is stopped by the protective layer provided by the ceramic coating. It also makes your headlights glow brighter and more clear.
7. Let it Dry
Permit the ceramic coating to fully dry. Usually, this takes half an hour. During this period, do not operate your vehicle or touch it. For the coating to firmly adhere to the headlamp surface, it must cure.
8. Enjoy Your Restored Headlights
Your headlights ought to appear bright and clear after the coating dries. You’ll observe that appearance and visibility have significantly improved. Your headlights will stay clear for a very long time thanks to the ceramic coating’s protection against potential damage.
Cerakote Headlight Restoration Kit Instructions
With the Cerakote Headlight Restoration Kit, restoring your car’s headlights is simple. First, gather your supplies and give the headlights a thorough cleaning. The foggy layer on your headlights can be removed with the oxidation remover wipes.
Next, use the included pads to sand the headlights, beginning with the coarse pad and ending with the fine one. When sanding, keep the surface damp to prevent scratches. Dry the headlights fully after they are clear.
Lastly, evenly coat the headlamp surface with Cerakote ceramic coating. Long-lasting protection and clarity are guaranteed by this coating. Give it a minimum of thirty minutes to cure.
These easy methods will make your headlights look brand new, enhancing the appearance and visibility of your automobile at night. This DIY kit is cost-effective and user-friendly, making it a great choice for anyone looking to restore their headlights.
Tips for Best Results
- Work in a Shaded Area: Products may dry out too soon in direct sunshine.
- Pay Close Attention To Instructions: For optimal results, be sure you follow each step exactly as it is outlined.
- Use Both Sides of Pads: Use both sides of each pad before discarding to get the most use out of them.
- Keep Kit Stored Correctly: For later usage, store any items that aren’t used up in a cold, dry location.
Conclusion
The In conclusion learning how to use Cerakote headlamp Restoration Kit makes headlamp restoration easy and efficient. You can increase the safety and attractiveness of your car in a matter of minutes. On the road, headlights that are bright and clear are quite important. For the greatest outcomes and a safer driving experience, refer to this guide. Always remember that safety and visibility depend on having clear headlights. Don’t allow foggy headlights to obscure your vision. Cerakote can help you restore them today.
By doing these things, you’ll guarantee safer driving conditions in addition to improving the appearance of your car. Additionally, by using our affiliate link to make a purchase, you help us continue to provide you with more beneficial evaluations and tips. Enjoy your drive!
How long does the restoration last?
The Cerakote Headlight Restoration Kit’s effects are guaranteed for up to a year. A strong shield against oxidation and UV ray damage is provided by the ceramic coating.
Can I use the kit on other plastic surfaces?
The kit is made especially for headlights. Use it as intended for best results, though it might work on other clear plastic surfaces.
Is it safe for all types of headlights?
Absolutely, all headlight types—including those with plastic and polycarbonate lenses—are safe to use with the Cerakote Headlight Restoration Kit.
How often should I restore my headlights?
The frequency of restoration is dependent upon the weather and driving conditions. Generally speaking, headlamp restoration might be necessary once a year. You might need to do it more frequently if you drive a lot or reside in an area with severe weather.
Where to Buy the Cerakote Headlight Restoration Kit
Ready to restore your headlights? You can buy the Cerakote Headlight Restoration Kit on Amazon. Click here to check price
Hi, I’m Malik Suhail—an SEO expert, web designer, and passionate blogger with 2 years of experience. I specialize in crafting content that is not only informative but also tailored to meet the needs of my readers.
I write about diverse topics, always striving to simplify complex ideas and provide valuable insights that resonate with my audience. Whether it’s about SEO strategies, web design trends, or blogging tips, I am committed to delivering well-researched, practical, and easy-to-understand information.
My mission is to help readers navigate the digital world with confidence and clarity. I believe in adding value through authentic content that inspires action and delivers results.