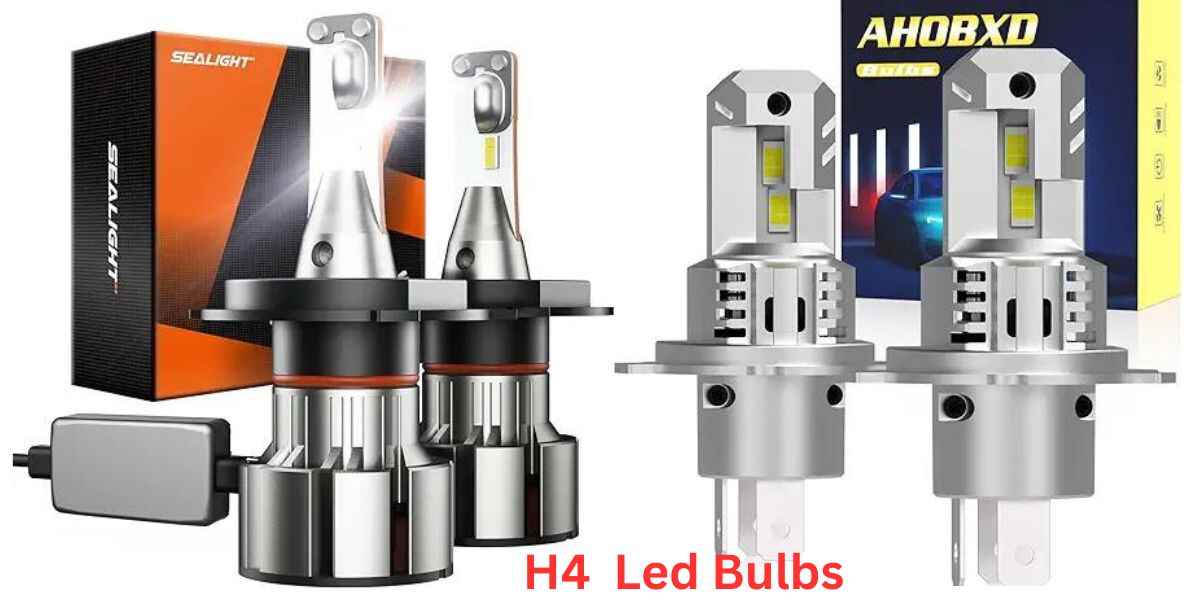
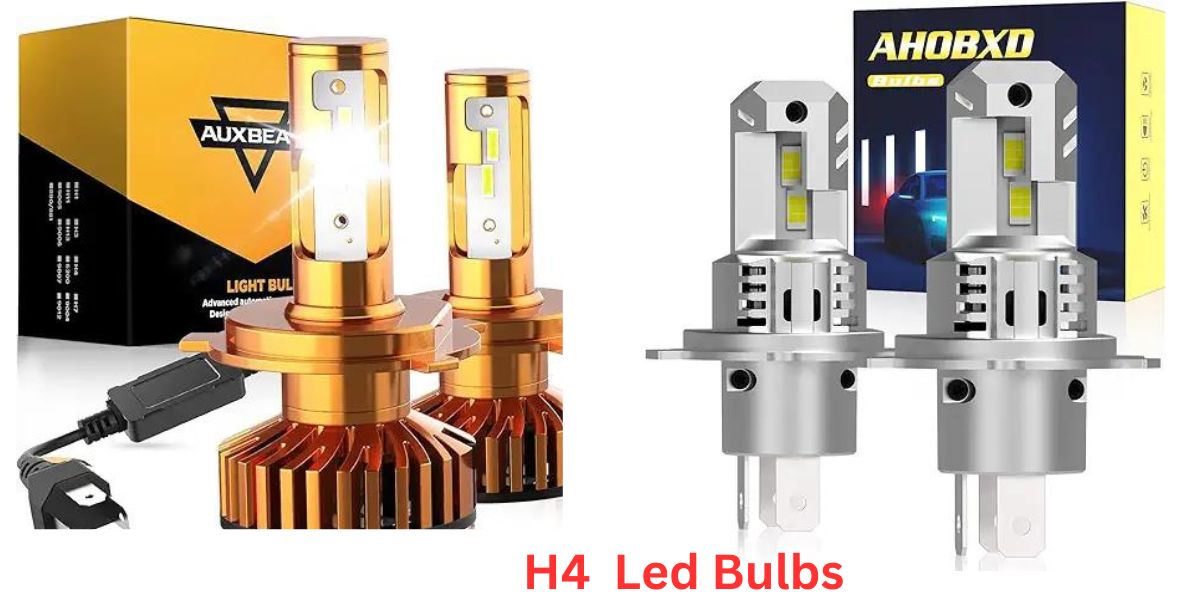
In the world of automotive lighting, H4 LED headlights have gained immense popularity due to their increased brightness, energy efficiency, and overall performance. However, to fully enjoy the benefits of these headlights, it is crucial to position them correctly. In this article, we will provide you with a detailed guide on How to Position H4 LED Headlights for optimal visibility and safety.

Understanding H4 LED Headlights
Before delving into the positioning process, let’s quickly understand what H4 LED headlights bulbs are. H4 refers to the bulb type, while LED stands for Light Emitting Diode. LED headlights are known for their long lifespan, low power consumption, and superior brightness compared to traditional halogen bulbs. Now, let’s move on to the positioning process.
Tools Required
To position H4 LED headlights bulbs accurately you will need a few tools, including:
1. Tape measure
2. Masking tape
3. Screwdriver (if necessary)
4. Vehicle owner’s manual (for specific instructions).
Importance of Proper Positioning
Positioning your H4 LED headlights correctly is essential for several reasons. Firstly, it ensures that the light is directed where it’s needed most, maximizing visibility for both the driver and other road users. Proper positioning also prevents glare, which can blind oncoming drivers and pose a safety hazard. Additionally, correctly aligned headlights contribute to the overall aesthetics of your vehicle, enhancing its appearance.
Preparing for the Positioning Process
1. Find a suitable location:
Begin by locating a flat and level surface where you can park your vehicle. This will ensure that the headlights are positioned correctly.
2. Turn off the headlights:
Before starting the positioning process, make sure the headlights are turned off to avoid any electrical accidents.

Identifying Headlight Adjustment Points
To properly position the H4 LED headlights, it is essential to identify the adjustment points. Depending on the make and type of your car, these points could change. Refer to your owner’s manual for specific instructions on locating these points.
Vertical and Horizontal Adjustments
1. Vertical adjustment:
Most vehicles have screws or knobs that allow you to adjust the vertical aim of the headlights. Use a tape measure to measure the distance between the ground and the center of the headlight lens. Adjust the screws or knobs to position the beam parallel to the ground, with a slight downward angle.
2. Horizontal adjustment:
Some vehicles also have screws or knobs for horizontal adjustment. Measure the distance between the center of the headlight lens and a fixed point on the vehicle, such as the center of the grille. Adjust the screws or knobs to align the beam with the vehicle’s centerline.
Testing and Fine-Tuning
Once you have positioned the H4 LED headlights, it is crucial to test their alignment and make any necessary adjustments. Here’s how:
1. Turn on the headlights: Switch on the headlights and observe the beam pattern on a flat surface, such as a wall, from a distance of around 25 feet.
2. Check for symmetry: The beam patterns of both headlights should be symmetrical and evenly distributed. If one side appears higher or lower than the other, make further adjustments.
3. Road test: Take your vehicle for a short drive on a dark road to ensure that the headlights provide sufficient illumination without causing glare for oncoming traffic.
Additional Tips
1. Regularly clean the headlight lenses to maintain optimal brightness and visibility.
2. If you are unsure about the positioning process, consult a professional or refer to your vehicle’s manufacturer guidelines.
Conclusion: How to Position H4 LED Headlights
Properly positioning H4 LED headlights is essential for ensuring optimal visibility and safety while driving. By following the step-by-step guide provided in this article, you can easily position your headlights for an enhanced driving experience. Remember to consult your vehicle’s owner’s manual for specific instructions tailored to your make and model. Enjoy the benefits of H4 LED headlights and drive safely!
Hi, I’m Malik Suhail—an SEO expert, web designer, and passionate blogger with 2 years of experience. I specialize in crafting content that is not only informative but also tailored to meet the needs of my readers.
I write about diverse topics, always striving to simplify complex ideas and provide valuable insights that resonate with my audience. Whether it’s about SEO strategies, web design trends, or blogging tips, I am committed to delivering well-researched, practical, and easy-to-understand information.
My mission is to help readers navigate the digital world with confidence and clarity. I believe in adding value through authentic content that inspires action and delivers results.


