Did you know that improper handling of halogen bulbs is one of the leading causes of premature bulb failure? You’ve seen countless people make simple mistakes that cost them both time and money! Whether you’re dealing with a blown bulb or just want to upgrade to a more energy-efficient option, replacing a T4 halogen bulb doesn’t have to be intimidating. In this comprehensive guide, I’ll walk you through the entire process, ensuring you can handle this task safely and confidently!
Safety Precautions Before Replacing Your T4 Halogen Bulb
Before diving into the actual replacement, let’s cover some crucial safety steps to keep you safe and protect your new bulb.
- Essential Safety Gear Needed: Always wear gloves and safety glasses. Halogen bulbs are sensitive to oils and dirt from your skin, which can cause them to burn out quickly. Gloves also protect you from potential burns.
- Turn Off the Power: Always make sure the power is off before starting. Whether it’s a lamp or a ceiling fixture, turn off the power at the switch or unplug it completely. Allow the bulb to cool for several minutes before handling it.
- Understanding Voltage Requirements: T4 halogen bulbs come in different voltage ratings. Make sure the replacement bulb matches the voltage of your existing fixture. Using the wrong voltage can lead to electrical issues and shorten the bulb’s lifespan.
- Proper Handling Techniques: Never touch a halogen bulb directly with your bare hands. Even the smallest amount of oil from your skin can create hot spots on the bulb’s surface, leading to early failure.
- Workspace Preparation Tips: Ensure your workspace is clean and well-lit. This reduces the chance of accidents and makes the process smoother. Have your new bulb and cleaning supplies nearby to avoid unnecessary trips while handling the delicate parts.
Understanding T4 Halogen Bulb Types and Specifications
Not all T4 halogen bulbs are the same, and selecting the wrong type can lead to improper lighting or compatibility issues. Let’s break it down:
- Different Types of T4 Halogen Bulbs: T4 halogen bulbs come in various wattages and voltages, typically ranging from 12V to 120V. Some are designed for specific fixtures like under-cabinet lighting, desk lamps, or even projectors.
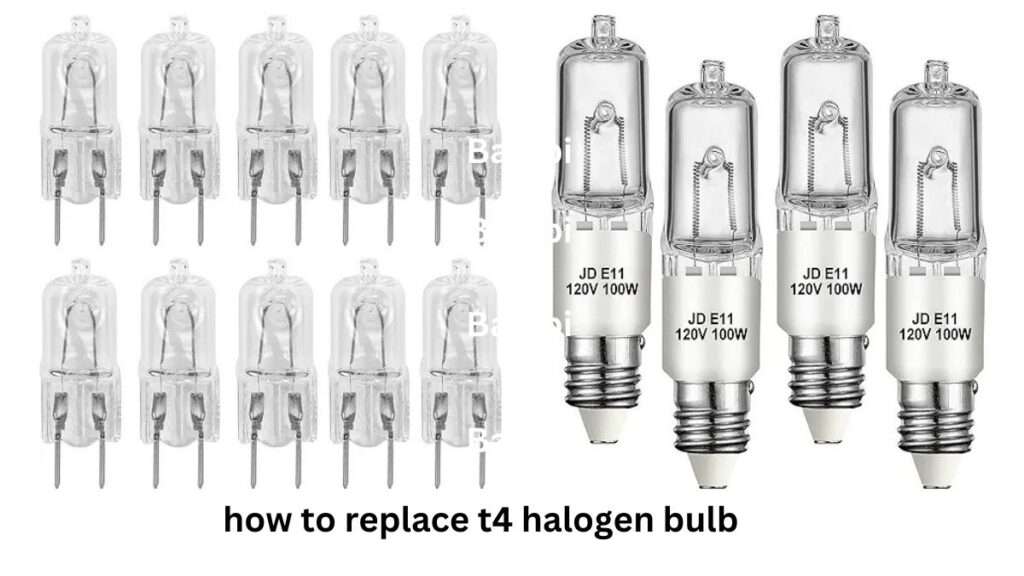
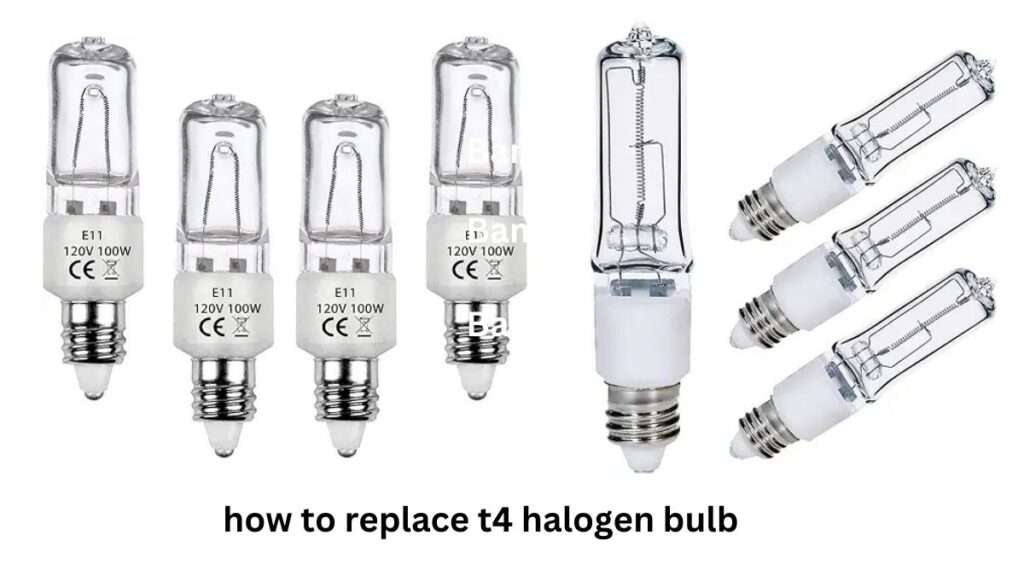
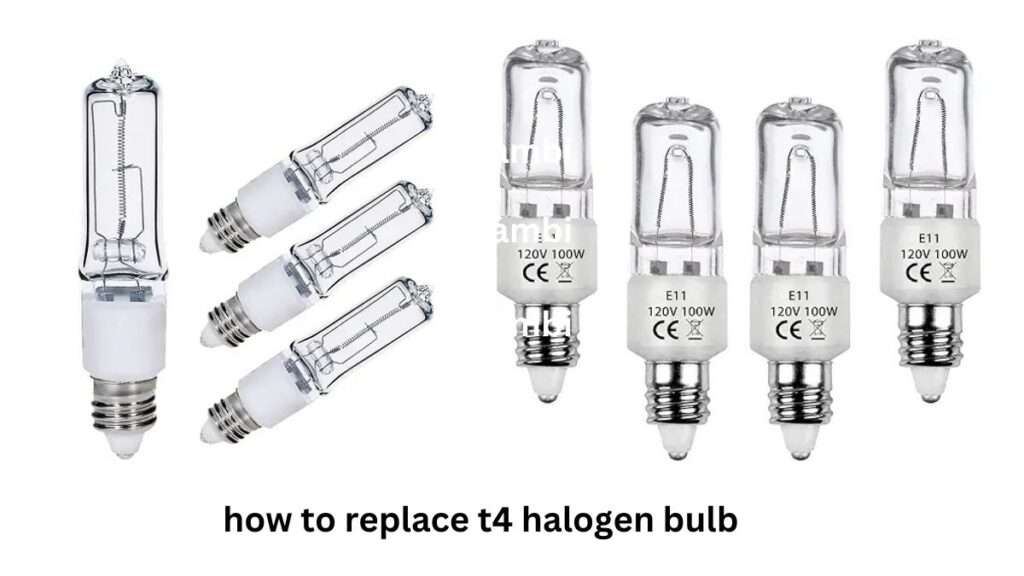
- Identifying the Correct Replacement Bulb: Check the markings on your old bulb for wattage and voltage. Also, note the base type – T4 bulbs may have bi-pin or mini-candelabra bases, so ensure you get the correct one.
- Wattage and Voltage Considerations: T4 bulbs can range from low wattage (like 20W) to higher wattages (100W or more). The higher the wattage, the brighter the light, but also the more heat it generates, so choose wisely based on your fixture’s needs.
- Common Socket Types and Configurations: The most common socket types for T4 halogen bulbs include G4 (bi-pin) and GY6.35 (mini-candelabra). Double-check your fixture’s socket to ensure a proper fit.
- Benefits and Limitations of T4 Halogen Bulbs: Halogen bulbs offer bright, natural light but generate more heat compared to modern LED alternatives. They also have a shorter lifespan, but many people still love their warmth and color accuracy.

Step-by-Step T4 Halogen Bulb Replacement Guide
Ready to get started? Here’s a detailed guide on replacing your T4 halogen bulb the right way.
- Removing the Old Bulb Safely: First, turn off the power and let the bulb cool down completely. Once it’s safe to touch, gently grasp the base (not the glass) and twist or pull, depending on the socket type.
- Proper Cleaning Techniques for the Fixture: Before inserting the new bulb, use a dry cloth to wipe away any dust or debris from the socket. A dirty socket can lead to poor electrical contact and reduce the new bulb’s lifespan.
- Installing the New Bulb: Wearing gloves, carefully insert the new T4 halogen bulb into the socket. Avoid touching the glass part. Make sure it’s seated correctly, but don’t force it in, as that could damage the fixture.
- Testing the New Installation: Once the bulb is installed, restore power to the fixture. Switch it on to check if the bulb is working properly. If it flickers or doesn’t turn on, you may need to troubleshoot (more on that below).
- Common Installation Mistakes to Avoid: Don’t over-tighten the bulb. If you notice flickering, you might not have secured the bulb properly, or there could be dust in the socket. Avoid touching the glass surface, as it could damage the bulb.
Troubleshooting Common T4 Halogen Bulb Issues
Even with the right precautions, issues can arise after installation.
- Signs of Improper Installation: If your bulb flickers or doesn’t light up, double-check the installation. Loose connections or improper socket fit could be the culprits.
- Dealing with Loose Connections: If the bulb doesn’t sit securely in the socket, you may need to adjust the prongs or pins in the fixture slightly to ensure a snug fit.
- Addressing Flickering Problems: Flickering is often caused by loose connections, but it could also indicate a power supply issue. Try removing and reinstalling the bulb, or consult an electrician if the issue persists.
- Solutions for Premature Bulb Failure: Halogen bulbs are sensitive to oils, dirt, and improper handling. If your bulb burns out quickly, make sure you’ve avoided touching the glass and that the voltage is compatible with your fixture.
- When to Call a Professional: If you’re experiencing persistent electrical issues, it’s best to call a licensed electrician to check the wiring in your fixture.

Maintenance Tips for T4 Halogen Bulbs
Taking care of your T4 halogen bulbs can extend their lifespan and keep your lighting fixtures working smoothly.
- Optimal Cleaning Practices: Regularly clean your light fixture to prevent dust buildup, which can cause heat to accumulate around the bulb, shortening its life.
- Extending Bulb Lifespan: Avoid frequent switching on and off, as this can wear out the bulb faster. Let the light run for at least a few minutes before turning it off again.
- Regular Inspection Guidelines: Check your halogen bulbs every few months for signs of wear, such as dark spots or dimming, which may indicate it’s time for a replacement.
- Energy-Saving Tips: While halogen bulbs are bright, they can be inefficient compared to LEDs. If you’re looking for a more energy-efficient solution, consider switching to T4 LED bulbs.
- Alternative Lighting Options to Consider: LED bulbs offer lower energy consumption, longer lifespan, and cooler operation. If you’re frequently replacing halogen bulbs, it might be time to consider making the switch.
Conclusion: how to replace t4 halogen bulb
Replacing a T4 halogen bulb might seem daunting at first, but with the right approach, it’s a task anyone can master! Remember to prioritize safety and follow each step carefully. If you’re ever unsure, don’t hesitate to consult a professional. Ready to tackle your bulb replacement? Get your safety gear ready, and let’s get started! Have any questions? Drop them in the comments below!
Related articles:


