If your 2013 Honda Pilot’s driver side headlight bulb has gone out, it’s important to replace it as soon as possible. Driving with a faulty headlight can be dangerous and might get you a ticket. This guide will walk you through the process of replacing the headlight bulb step by step. With some basic tools and a little patience, you can do it yourself. Today’s date is May 23, 2024, and this guide will ensure your 2013 Honda Pilot is safe and road-ready.
Tools and Materials Needed
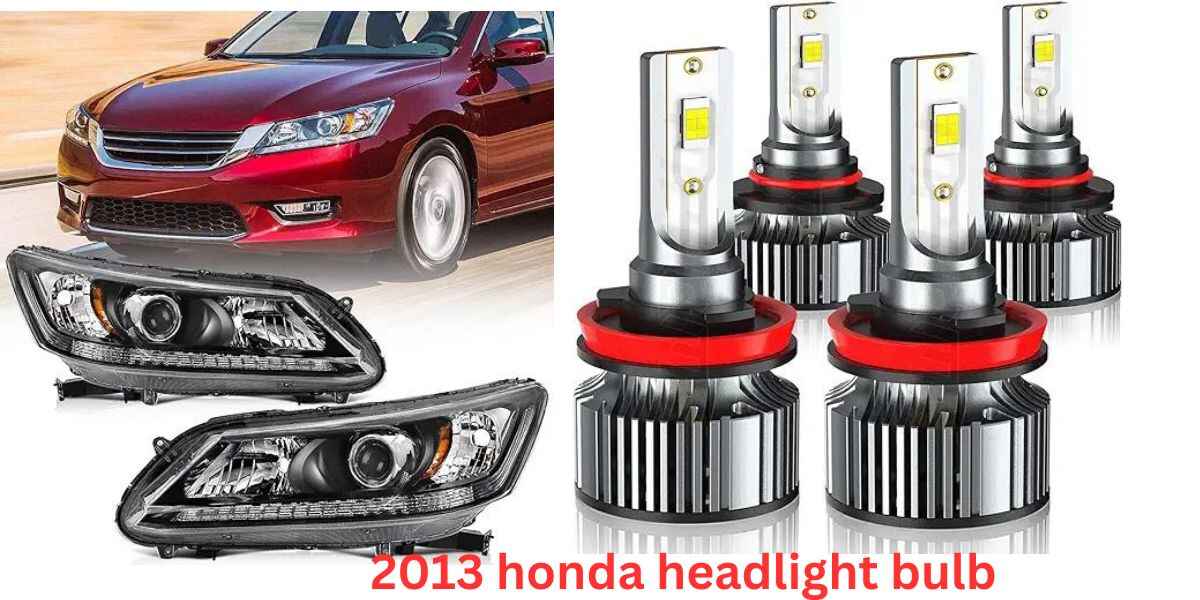
- New headlight bulb (Make sure it’s compatible with the 2013 Honda Pilot)
- Flathead screwdriver
- Phillips head screwdriver
- Clean gloves (to avoid touching the new bulb with bare hands)
Step-by-Step Guide
1. Preparation
Before you start, make sure the car is turned off and the keys are out of the ignition. Open the hood by pulling the hood release lever located inside the vehicle. Use the prop rod to fasten the hood.
2. Locate the Headlight Assembly
Stand in front of your car and locate the back of the headlight assembly on the driver’s side. You’ll see the wiring harness connected to the bulb.
3. Remove the Power Connector
Carefully disconnect the power connector from the back of the bulb. This might require a bit of wiggling. Press the tab on the connector and pull it straight out. If it’s stuck, carefully peel it off with a flathead screwdriver.
4. Remove the Old Bulb
The bulb is held in place by a retaining clip or a plastic ring. If it’s a clip, press down and move it to the side to release the bulb. If it’s a ring, turn it counterclockwise to unlock it. Once the clip or ring is released, pull the bulb straight out of the headlight assembly.
5. Install the New Bulb
Take your new headlight bulb and, wearing clean gloves, insert it into the headlight assembly. Make sure not to touch the glass part of the bulb with your fingers as oils from your skin can damage it. Secure the bulb by reversing the steps: engage the retaining clip or turn the plastic ring clockwise until it’s tight.
6. Reconnect the Power Connector
Attach the power connector back onto the new bulb. You should hear a click indicating it’s securely in place.
7. Test the New Bulb
Before closing the hood, turn on your car’s headlights to make sure the new bulb is working. Check the alignment and brightness to ensure it’s correctly installed.
8. Close the Hood
Once you’re sure everything is working properly, close the hood securely.
Additional Tips
- Buy the Right Bulb: Ensure you have the correct replacement bulb. The 2013 Honda Pilot typically uses an H11 bulb for the low beam and a 9005 bulb for the high beam.
- Handle with Care: Always handle the new bulb with gloves or a clean cloth. Touching the bulb with bare hands can reduce its lifespan.
- Check Other Lights: While you’re at it, check the other headlights and taillights. It’s a good habit to ensure all lights are functioning properly.
Read also: 2013 honda accord headlight bulb
Conclusion
Replacing the driver side headlight bulb on a 2013 Honda Pilot is a straightforward task that can save you time and money. By following these steps, you can ensure your vehicle is safe for night driving. Regular maintenance, including checking and replacing faulty bulbs, is essential for safe driving. Now that you know how to replace the headlight bulb, you can keep your 2013 Honda Pilot in top condition. Stay safe on the roads!